Creating Kaleidoscopic images from scratch with Imagemagick.
If you really want to easily create a kaleidoscopic image with imagemagick, I’d recommend using kaleidoscope from Fred’s. However, this is quite slow going, and not practical if the parameters aren’t as strict. A fine alternative is Kaleidoscopic, which I used in this video.
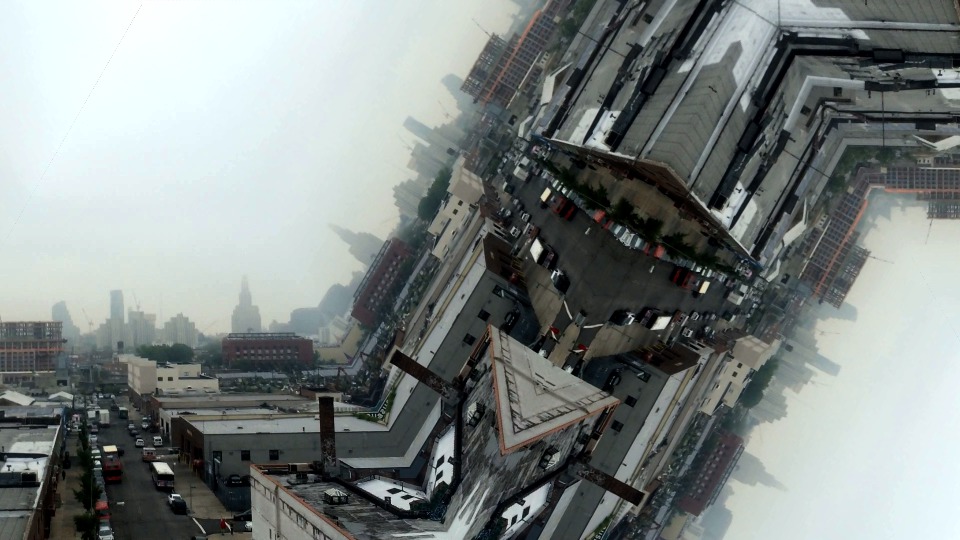
I was looking for a solution somewhere in the middle, that offered some interesting visuals that I could batch process onto video frames. So here are the 14 steps to a kaleidoscopic image.
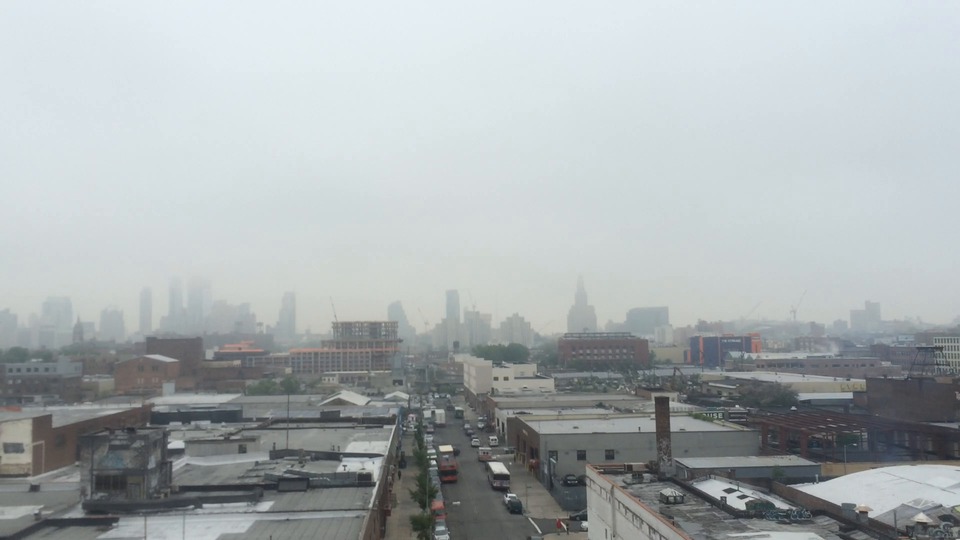
First we start with a screencap from a video:
Now we need to draw a triangle to mask out.
convert -size 100x60 xc:skyblue -fill white -stroke black \

-draw "path 'M 20,55 L 25,10 L 70,5 L 20,55 Z' " triangle.gif

same thing, but with a 1080p canvas
convert -size 1920x1080 xc:skyblue -fill white -stroke black -draw "path 'M 20,55 L 25,10 L 70,5 L 20,55 Z' " triangle2.gif
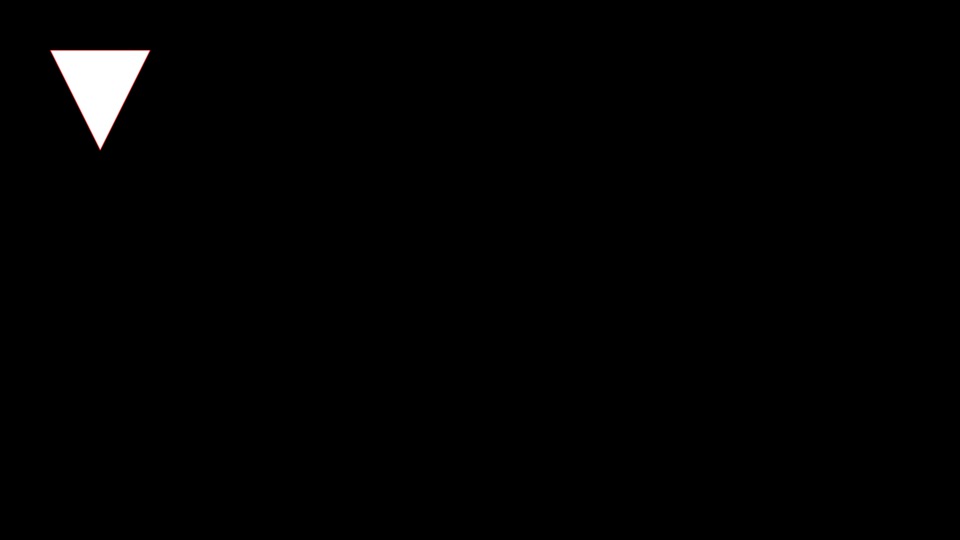
Now, learn a little SVG. Specifically, the Path Data.
convert -size 1920x1080 xc:black \

-fill white \

-stroke red \

-draw "path 'M 100 100 L 300 100 L 200 300 z' " \

triangle3.gif
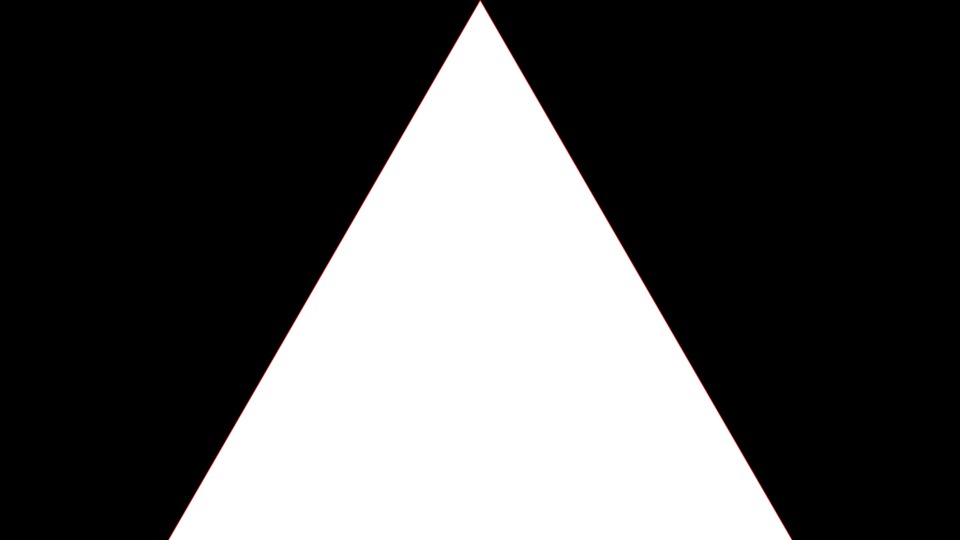
get the geometry right
convert -size 1920x1080 xc:black \

        -fill white \

        -stroke red \

        -draw "path 'M 960 0 L 336 1080 L 1584 1080 z' "   \

        triangle4.gif
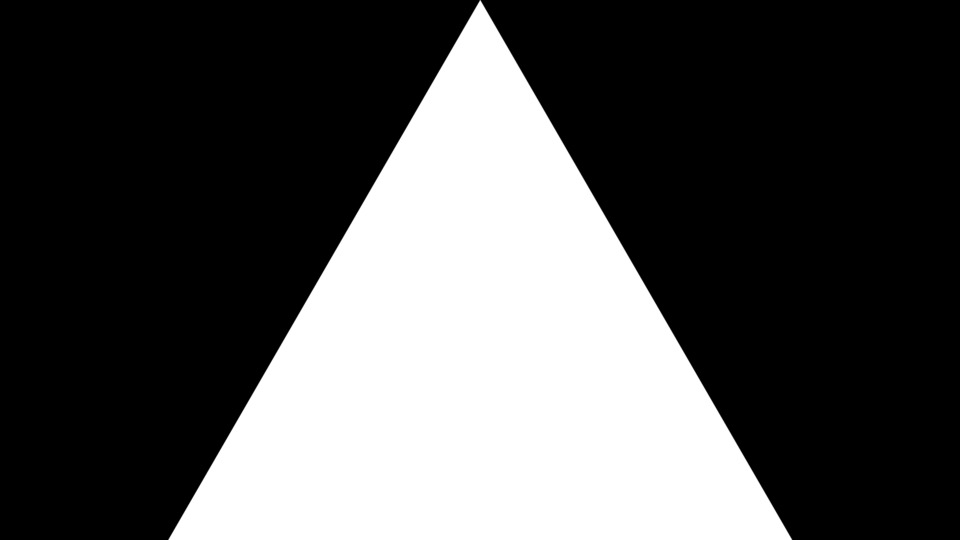
generate a mask gif (no stroke)
convert -size 1920x1080 xc:black \

        -fill white \

        -stroke none \

        -draw "path 'M 960 0 L 336 1080 L 1584 1080 z' "   \

        mask.gif
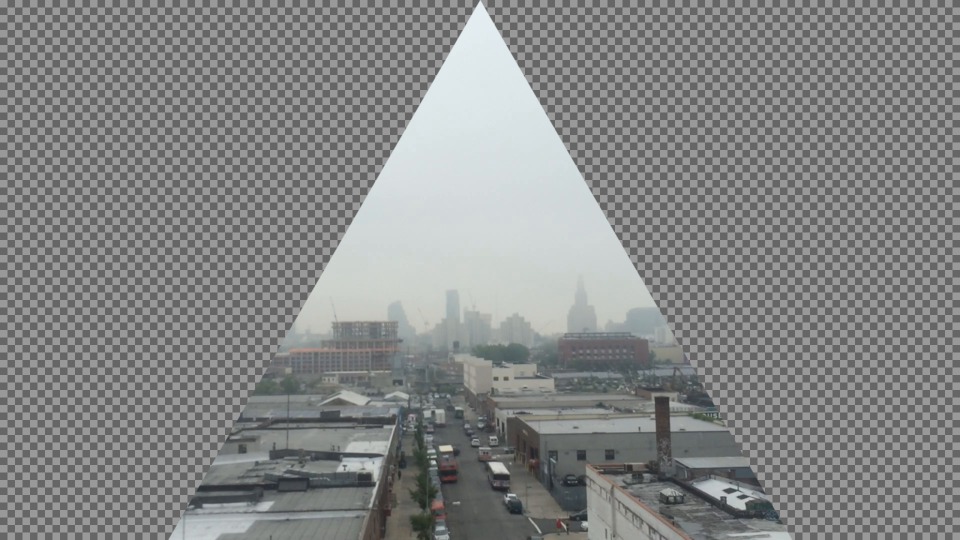
mask the original image using the mask
convert orig.png mask.gif \

		-alpha Off \

		-compose CopyOpacity \

		-composite orig-masked.png
compose the image with itself
convert orig-masked.png orig-masked.png \

		+append two-up.png
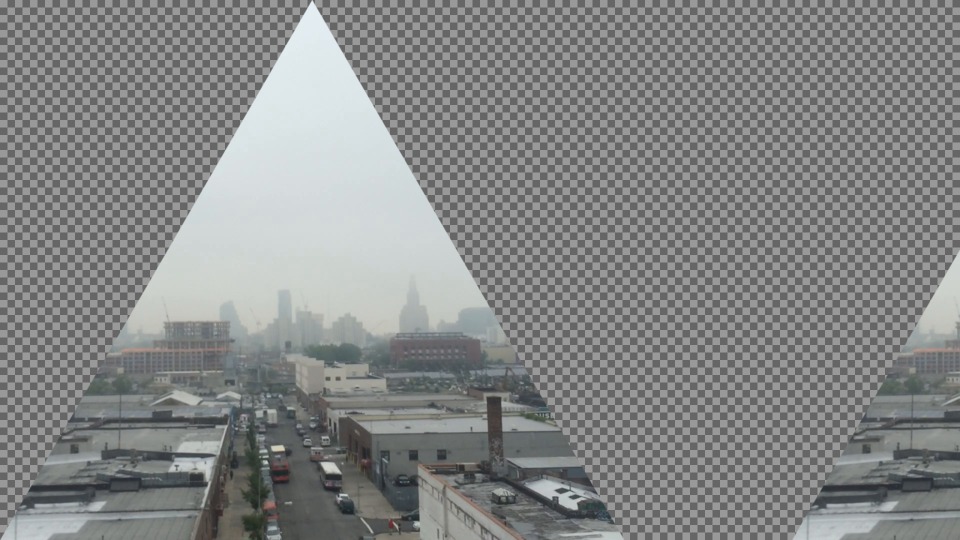
Butt them up against one another
convert -size 1920x1080 xc:none composite1.png

composite -geometry 1920x1080-336+0 orig-masked.png composite1.png composite1.png

composite -geometry 1920x1080+1248+0 orig-masked.png composite1.png composite1.png
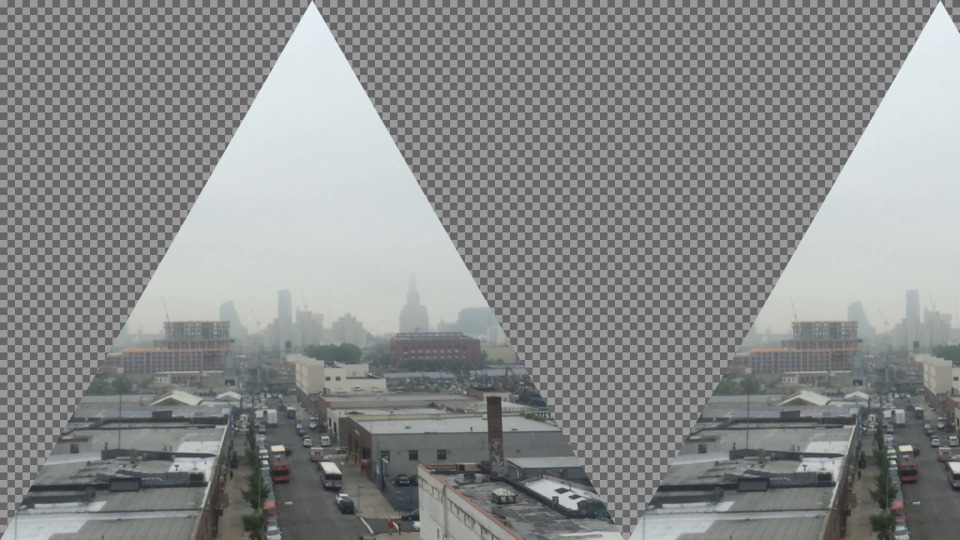
another method, with a slight geometry correction (position, scale)
convert -size 1920x1080 xc:none \

          -draw "image over  -336,0 0,0 'orig-masked.png'" \

          -draw "image over 920,0 0,0 'orig-masked.png'" \

          composite2.png
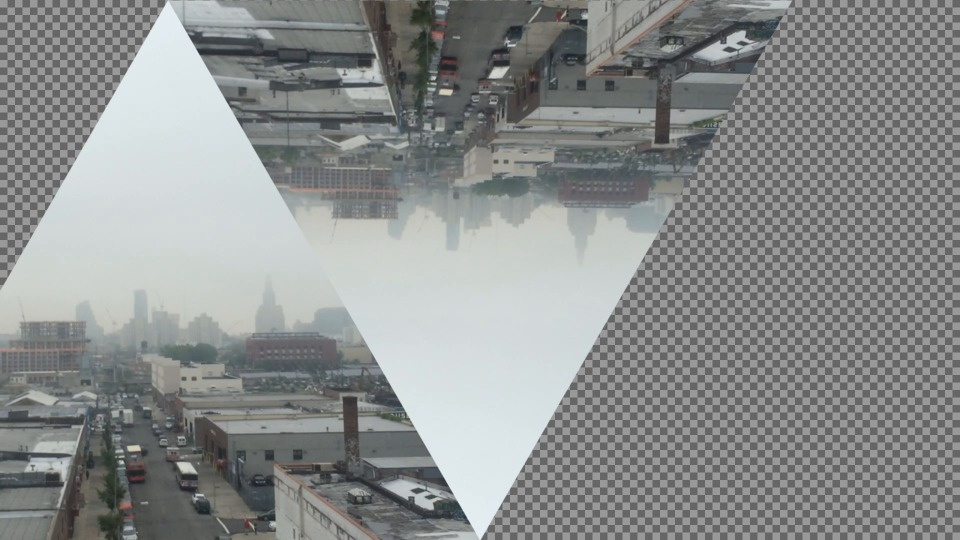
again, with rotation
convert -size 1920x1080 xc:none \

		  -draw " translate -624,0 image over  0,0 0,0 'orig-masked.png'" \

          -draw " translate 0,1080    scale 1,-1

          image over  0,0 0,0 'orig-masked.png'" composite3.png
then the issue is that it’s not a reflection! The origin point of the rotation makes it very difficult to not rotate it off the canvas.
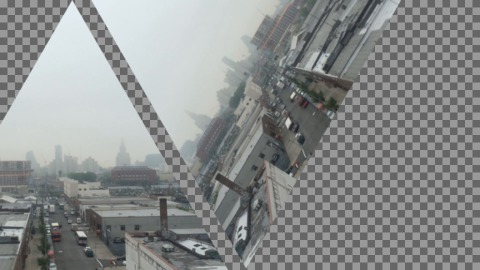
convert -size 960x540 xc:none \

	      -draw " translate -336,0 scale 0.5,0.5 image over  0,0 0,0 'orig-masked.png'" \

          -draw " translate 420,-420  rotate -60  scale -0.5,0.5

          image over  0,0 0,0 'orig-masked.png'" composite4.png
Can we four?
convert -size 960x540 xc:none \

	      -draw " translate -336,0 scale 0.5,0.5 image over  0,0 0,0 'orig-masked.png'" \

          -draw " translate 380,-416  rotate -60  scale -0.5,0.5 image over  0,0 0,0 'orig-masked.png'" \

          -draw " translate 1315,125 scale 0.5,0.5 rotate 120 image over  0,0 0,0 'orig-masked.png'" \

          -draw " translate 595,540  rotate -180  scale -0.5,0.5 image over  0,0 0,0 'orig-masked.png'" \

          composite6.png
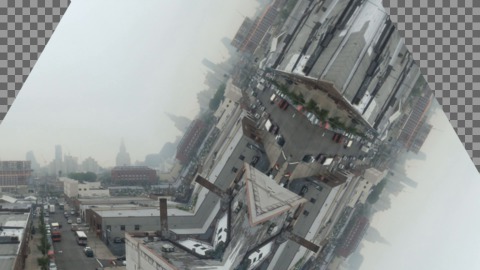
Five iterations
convert -size 960x540 xc:none \

          -draw " translate 384,415  rotate 60  scale -0.5,0.5  image over  0,0 0,0 'orig-masked.png'" \

          -draw " translate -336,0 scale 0.5,0.5 image over  0,0 0,0 'orig-masked.png'" \

          -draw " translate 380,-416  rotate -60  scale -0.5,0.5 image over  0,0 0,0 'orig-masked.png'" \

          -draw " translate 1315,125 scale 0.5,0.5 rotate 120 image over  0,0 0,0 'orig-masked.png'" \

          -draw " translate 595,540  rotate -180  scale -0.5,0.5 image over  0,0 0,0 'orig-masked.png'" \

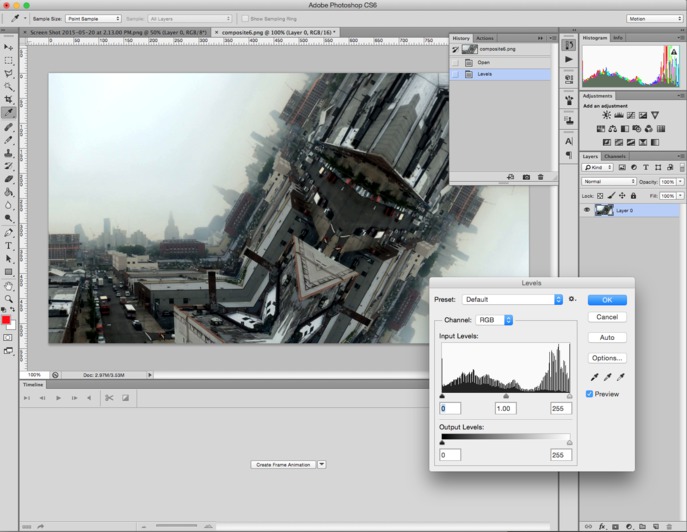
          composite6.png
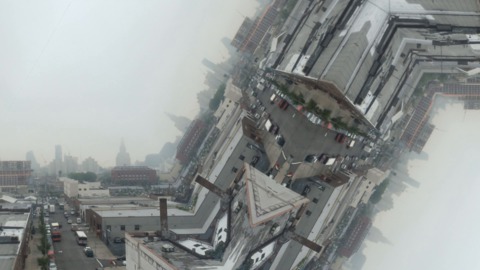
Had enough Command Line? I have, let’s adjust the levels in Photoshop.
If you used or were inspired by this technique, show me what you make in a tweet!
